3 Lessons from #ThisOldHouse after the first year
The first year in #ThisOldHouse has come and gone. In many ways it feels like I scaled a mountain…only to reach the top and realize I was at base camp one, now just beginning to see the actual summit intermittently through the clouds above (or in my case through the plaster and lath). The joys of home ownership, right?
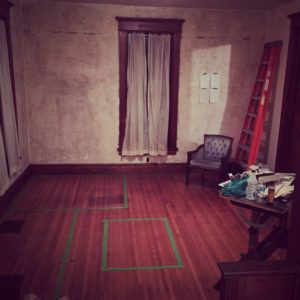
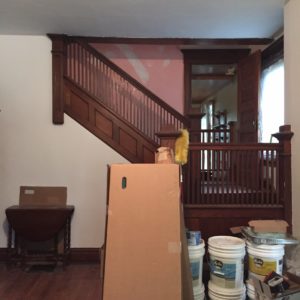
I thought it would be fun (and a good time capsule exercise) to recap all of the progress made in the first year and a macro level of lessons learned. For previous detailed posts on #ThisOldHouse, go here.
1. 3M masks are your friend
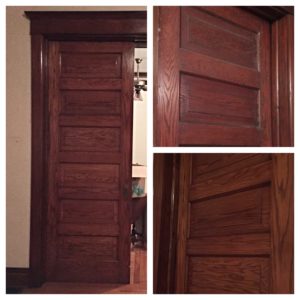
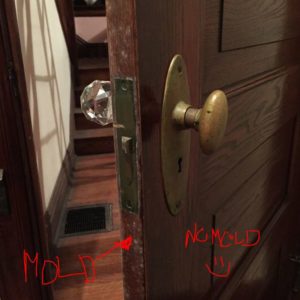
The first month of ownership was spent removing the natural mold growth, and some other usavory and unhealthy materials, from the house. The mold itself involved a 3 step process of bleach, wood soap, and old english oil…and lots of elbow grease. My mom came over 6 months after I moved in and her first comment when she walked in the door was, “It doesn’t smell like mold anymore!” Progress…??
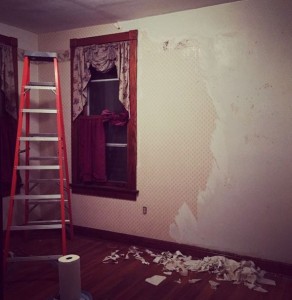
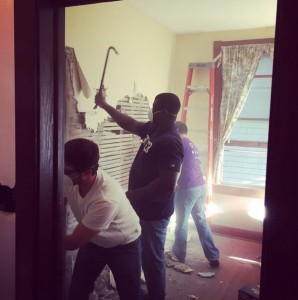
The point is that this project – and many other demos and paint jobs – required the use of a mask. A short list: ductwork repair, bedroom demo, dining room ceiling demo, and clawfoot tub refinishing. You won’t last long in the renovation fun if you don’t take care of yourself in the process – and I’m here to tell you this race is a marathon, not a sprint. If you’re considering taking on a rehab, buy yourself a quality mask and stock in filters. It will pay dividends.
2. Good contractors are hard to come by
While I did most of the work myself (with help from my dad and other friends on and off), there were projects I hired out for one reason or another. I am industrious, yes, but that doesn’t make me a licensed electrician – though I did learn how to install a fan and wire an outlet in the last year. When you can’t – or shouldn’t – do the work yourself, it’s important to have a contractor you trust able to step in. I experienced both the joys and the horrors of contractors this last year and it taught me many valuable lessons. Here are two:
- Ask for references or referrals from people you trust. And use the google machine. The interwebs have more than cat videos on them. A quick search might just save you from months of headaches and money down the [eroding] drains.
- Be ULTRA-CRYSTAL-SCRATCH-RESISTANT-COATING-LOW-IRON CLEAR about the project. Description, deadline, cost. And for God’s sake, get it in writing.
I can’t emphasize that last one enough. Especially on the residential side where a referral might be a family friend (try to avoid this unless they come with positively glowing reviews), the paperwork can be fast and loose. Don’t let that happen. They are a professional. Get their plan and price in writing, just as you would for your own client. If they don’t offer a written proposal, consider that warning sign #1 and walk away.
3 It doesn’t have to all be done at once
This one. This is my biggest lesson, perhaps because it stems into so much of life. I’m a dedicated, driven woman and I don’t like timelines – or rather I lack the patience for them. In some instances, this can be one of my most endearing qualities (I hope), but when it comes to fixing a house it can literally break the bank. Marathon, remember? Unless you’re Scrooge McDuck, swimming laps in your vault of gold coins, patience is KEY. #ThisOldHouse taught me this repeatedly this past year in small and big ways.
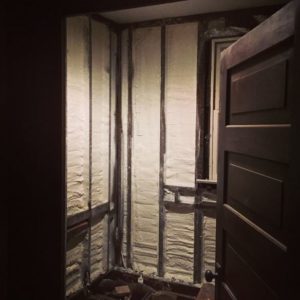
There are projects that will come up outside of your critical path – like re-wiring the house to remove the remaining active knob and tube wiring – so that you can sprayfoam the exterior walls. (Knob and tube wiring does not like to be encapsulated. Big no no.) These types of projects will – in most cases – delay the overall end date of the first project, but from a project management standpoint they’re good to have done in the right sequence.
Then there are other projects or details that will pop up – like hiring out your tile work instead of doing it yourself only to make it go faster – that will drain your pocketbook and bite you in the butt. Think about schedule, but ALWAYS keep an eye on your project funds. This is not easy to do when you’re Architect, Project Manager, Construction Manager, Foreman, Demo Crew, Framer, Painter, [name other sub] all rolled into one. In fact, keeping the books up to date will be the LAST thing on your mind. But do it. I promise you it will save your hide. The project will always be there (in the case of a house you’re living in), but it may not be if you tackle everything too quickly and can’t pay your mortgage. So learn to practice patient deliberate steps and you’ll grey slower and go further.
So there you have it, my 3 big lessons. If you’re interested in knowing what projects I went through to learn them, check the archive. Here’s a quick list in the meantime:
1 De-mold
2 Ductwork
3 re-wire
4 sprayfoam
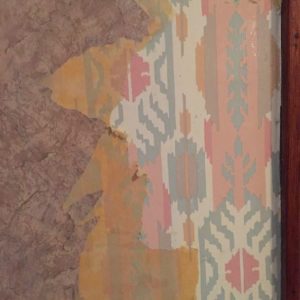
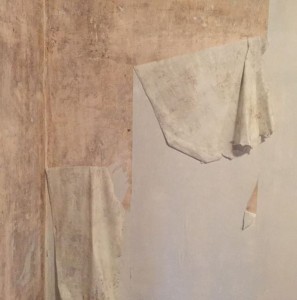
5 remove wallpaper
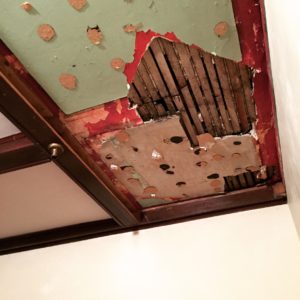
6 dining room ceiling
7 living room
8 entryway (including DIY chandelier)
9 second bedroom
10 master bedroom
11 begin demo for master bath
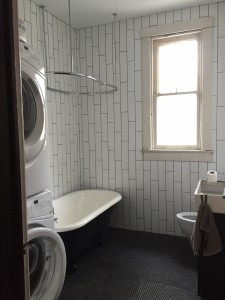
12 full bath gut and renovation (including refinishing cast iron clawfoot tub)
13 hallway (including DIY art)
14 backyard paver path
15 sideyard paver path
16 tulips
I can make a list 3x as long of what needs to still be done, but what I’ve also learned in the last year is that I’m okay with that fact. I’m thankful for a roof over my head and my own little design lab that’s all mine. Now back to the projects.
Until next time,


